After various issues with my Internet connection at home that I could not explain why, other than the fact that my Wifi router might be too old already, I decided to upgrade my Wifi router. Since I had to set up 2 repeaters to reach some areas in my house, it makes sense to get a mesh Wifi so that I get my entire house covered without worrying about getting third party repeaters. Netgear Orbi was the first choice that I researched. Nothing bad about it, I just don’t feel the price range meets my budget. So I turned my attention to Google Nest Wifi and Amazon Eero.
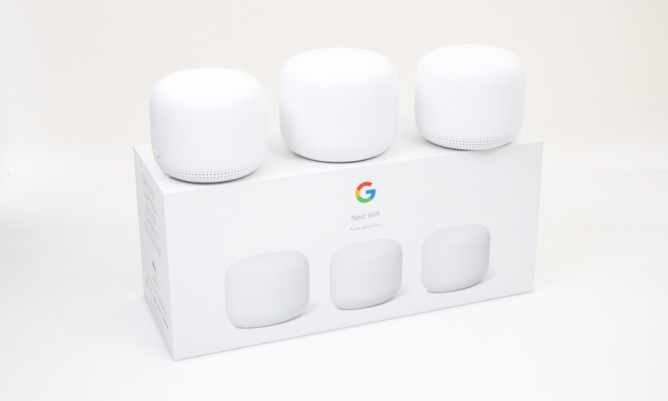
My choice to get Google Nest Wifi instead of Amazon Eero is simply for the fact that I have used more of Google devices at home and only one Amazon Echo Dot 3rd gen that I rarely use. I ordered Google Mesh Wifi with 2 wireless access points and started my journey to upgrade my home network.
Initial setting was pleasantly easy. We do most things from Google Home app in my phone. I can set Wifi name, password and preferred activities. This is a nice surprise for someone who work mostly from home like me. My home wifi now gives higher priority to video conferencing, giving better experience for my Teams call.
Users can also set up guest network and family Wifi. Guest network gives the ability to share Internet to guests without exposing devices at home. Family Wifi allows parents to set up Wifi connection with pause time and block adult sites. Under Advanced settings we can set WPA3, UPnP, IPv6, DNA settings, WAN connection (DHCP, Static IP, PPPoE), DHCP IP reservations, port management and device mode (NAT or bridged).
I relied a lot on DHCP IP reservations with my old router. While technically we can still do the same with Google Nest Wifi, it is no longer a critical requirement because I noted that my router usually assign the same IP addresses to known devices anyway. I can still use IP reservation to force certain IP number though.
Best feature of Google Nest Wifi is the screen allowing us to see all devices connected to the Wifi. For most devices, it will show at least device brand or type. We can rename the device to make it easier for us to identify a device. I can pause a device’s access to Wifi, this is a particularly useful feature when I see a device I can’t recognise. It gives me time to figure out what device it is. Another useful feature is to be able to prioritise a device for 1, 4 or 8 hours. I use this a lot when I have upcoming important video conference call.
This new Wifi router has been quite stable so far. It runs fast and I no longer experience random drop outs during video calls. I noticed that my Homekit connection is a lot faster now, which is a really nice bonus. My only concern is that my main router unit sometimes would show as offline in Google Home app, even though it is actually on and working as expected. Well, it does not block me from doing anything important and I have stable network more than ever. Hopefully this wrong status in the app is a software glitch that will eventually get patched.
For now, I’m quite happy with my new Wifi network. It is amazing how I survived with my old Wifi router for so many years. Now I’m ready for the upcoming 2023.
Leave A Comment